|
Digital images submitted for judging should adhere to the following specifications -
- Each image should be a JPEG
- Longest side should be no longer than 1920 pixels
- File size should be no larger than 5 megabytes
- Image should be named according to the convention shown below
Digital Image Naming Convention
- (o or ss - for Open or Set Subject) (surname initial) (title).jpg
Examples
- o davisb glorious sunset.jpg
- ss furnessm old bridge.jpg
- o souterg rainforest.jpg
Resizing Images
There are many ways to resize images using Photoshop, Lightroom, Elements and other photo editing software, but if you don't have these programs or don't know how to resize using them, there is an easy to use image program called Irfanview that you should use.
IrfanView is a free image viewer for Microsoft Windows that can view, edit, and convert image files and play video/audio files. It is noted for its small size, speed, ease of use, and ability to handle a wide variety of graphic file formats, and has some image creation and painting capabilities. The software was first released in 1996. IrfanView is free for non-commercial use.
Because of its speed and ease of use, the webmaster at BBCC recommends setting it up as the default image viewer on your computer. It also has an excellent facility to produce simple slide shows for presentations, and can also create screensavers from your images. However, it is particularly useful for resizing and optimizing images, especially JPEG images.
The download size is less than 2MB. Click here to download the setup program - which is called "iview437_setup.exe". Click on the "Download Now" button shown below circled in red. DO NOT click on the "Free Download" buttons!
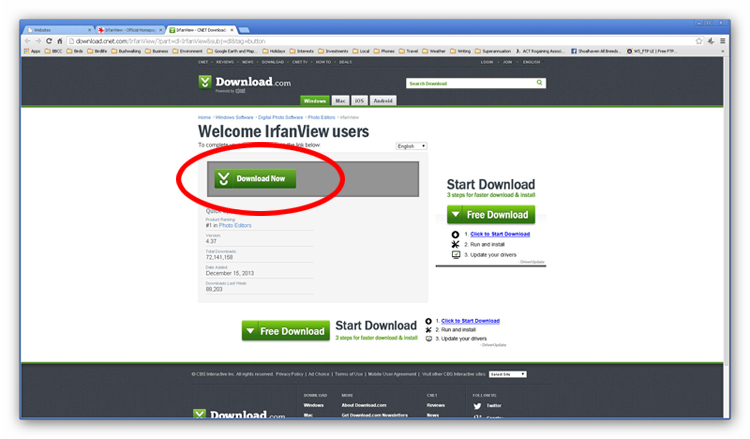
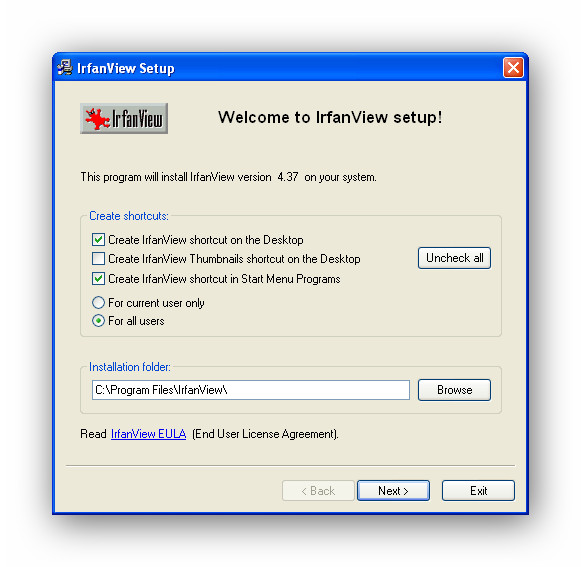
While the program is downloading, another screen will appear with more "Free Download" buttons on it. Again, DO NOT click on the "Free Download" buttons!. Instead, locate the "iview437_setup.exe" file and run it. It might appear in the Downloads line at the bottom of your screen, or it could be in your Downloads folder. When you have located it, run it to install the Irfanview program. When the window below appears, tick the boxes as shown and click on Next.
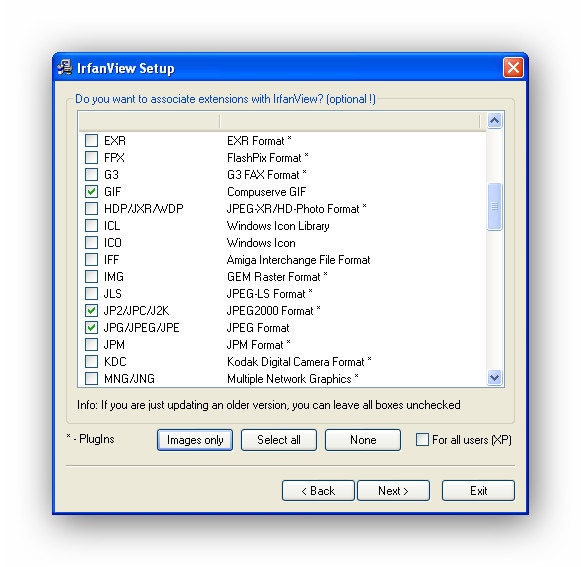
When the window below appears, tick the three boxes as shown and click on Next.
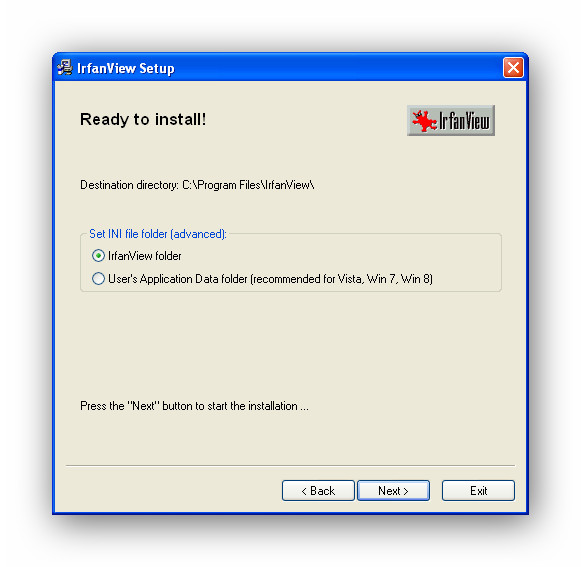
When the window below appears, make your selection based on your operating system and click on Next.
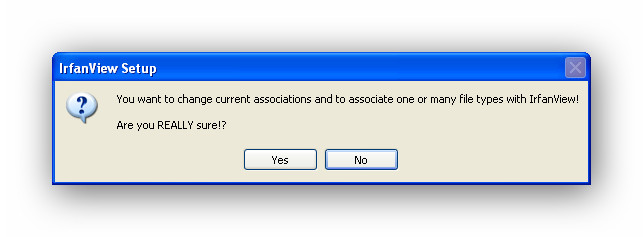
When prompted to change your current associations as shown below, click the "Yes" button.
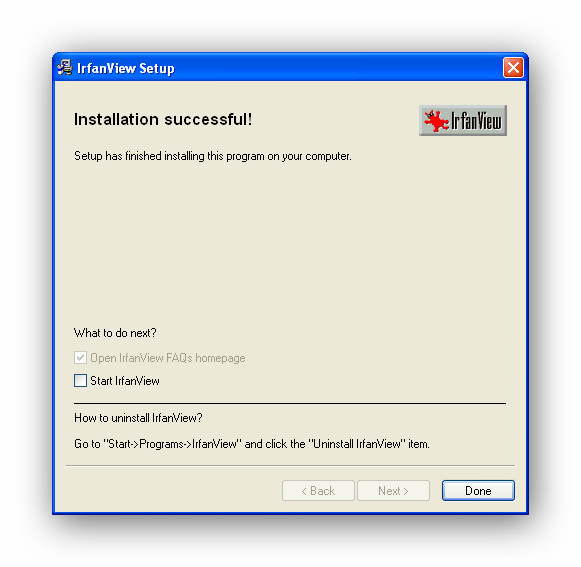
The window below should then appear.
Now we can resize a JPEG image - assuming it is larger than the 1920 pixels required in our digital image competitions. Open the JPEG image in Irfanview by either clicking on it (as it should default to the Irfanview program if you have followed the above steps correctly, or by running Irfanview and using File / Open to select the file.
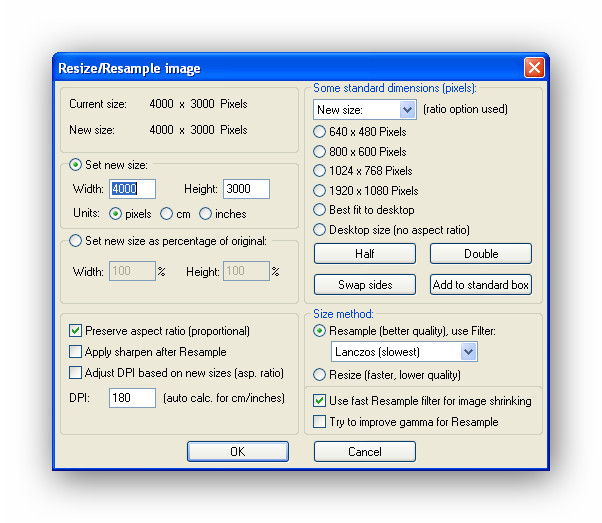
Now click on the Image menu option and scroll down to click on "Resize / Resample". A window similar to the one shown below should appear.
Make sure that "Set new size" is ticked and change the longest side to 1920 pixels. Also make sure that "Preserve aspect ration (proportional)" is ticked as well. Under "Size method:" ensure that the options shown in the image above are also ticked. Now click the OK button.
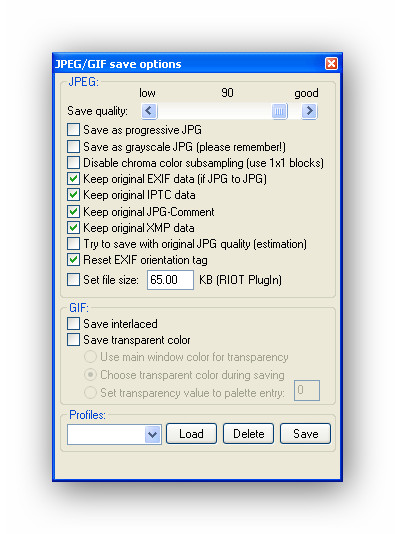
Don't worry if nothing appears to have changed, because the image is displayed to fit the screen. Now click on File / Save As and the "Save Picture As ..." window will appear, along with the window shown below. Rename the file (using our naming convention) otherwise you will overwrite your original picture and it will be gone forever, and then change the quality setting slider in the window to "90". Then click on "Save" in the "Save Picture As ..." window.
When you check on the file size you will see a remarkable difference between the sizes of the original file and the resized file, but when displayed on screen you will not be able to tell the files apart.
|